Production Order walkthrough
Make a Production Order
Change filter/Queries to just see your branches Production Orders
1. You will receive what you need for the Production Order from a Tech or KPA Valve Traveler and it will contain all information that is needed.
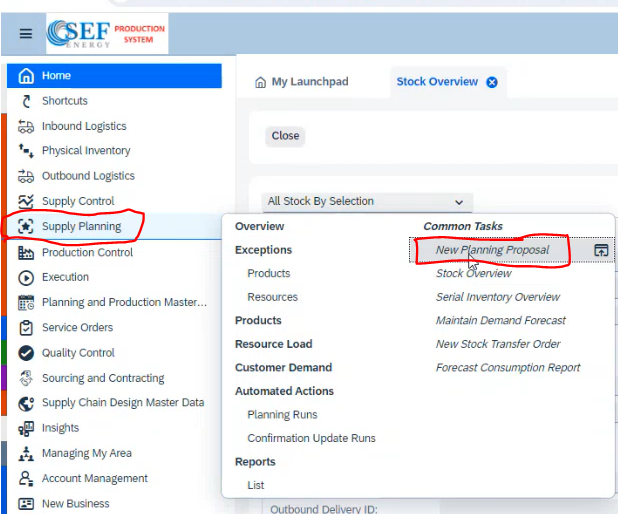
2. You will start by going to Supply Planning -> New Planning Proposal
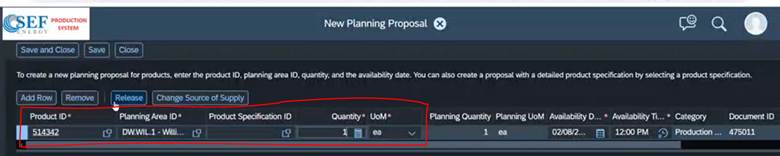
3. You will then enter the Product ID, Planning area ID, Quantity, and UoM(Unit of Measure)
The Product IDs will be one of these:
513249 - 7” 10M HWO AWC
513250 - 7” 10M HYD AWC
513251 - 7” 15M HWO AWC
513252 - 7” 15M HYD AWC
514342 - Everything else - For example: 82-111-111 4”10K HYD or 500889-325 skid
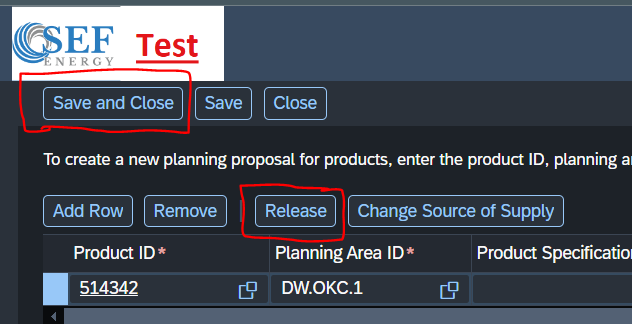
4. You will then click release and then Save and Close
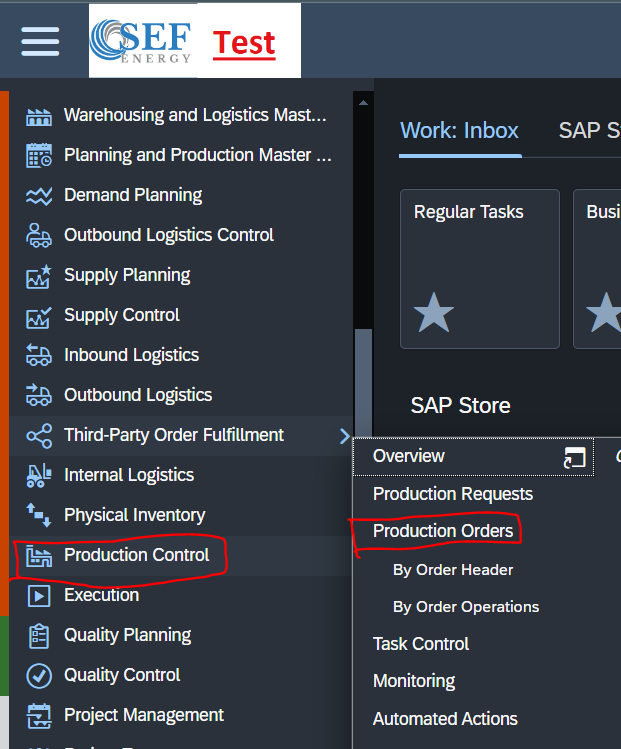
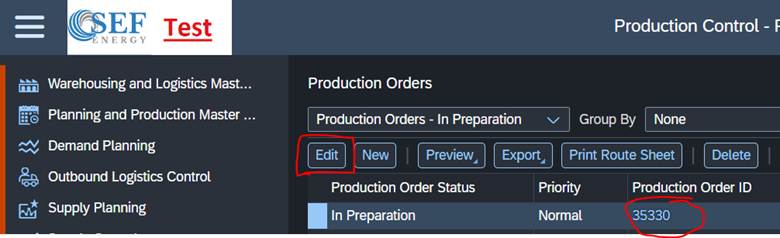
5. You will then go to Production Control -> Production Order
6. You will then find your Production Order ID and click Edit
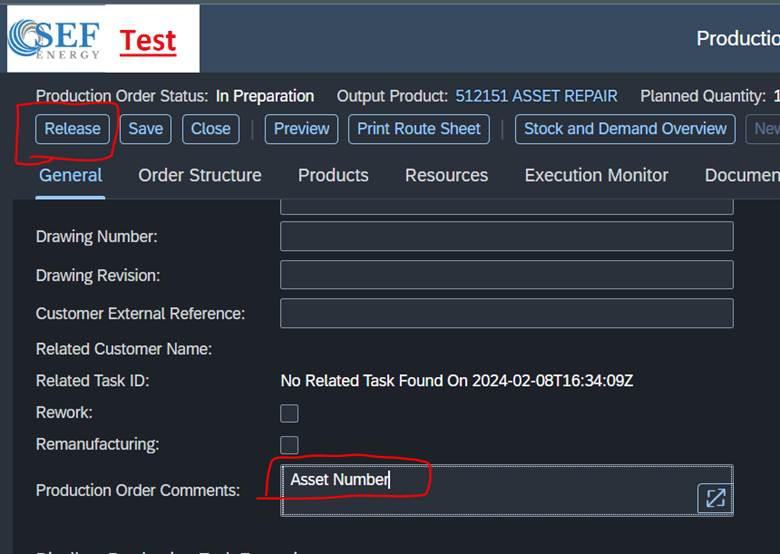
7. You will then scroll down to the Production Order Comments and put the Asset Number in and then click Release and then Close.
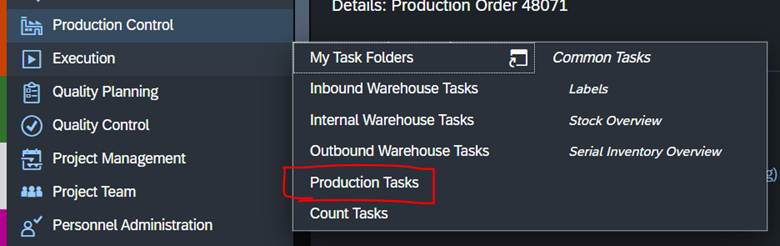
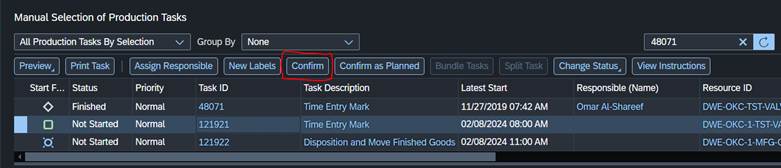
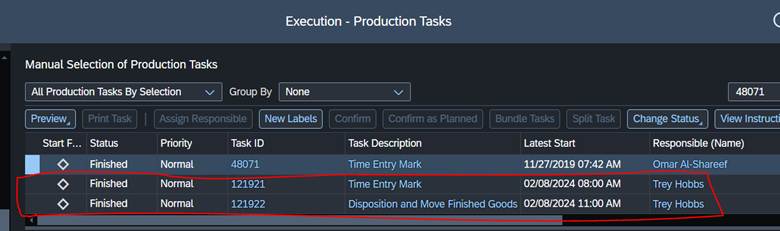
8. You will now go to Execution -> Production Task
9. Change the drop down to All Production Task By Selection and then put your Production Order ID in the search bar and click search and then select the one you created that says Time Entry mark in Task Description
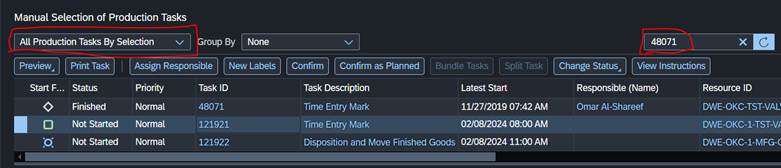
10. Go ahead and click Confirm on this one.
11. You will now put down all of your input products – Most of the commonly used repair parts will populate here but you will potentially need to add more.

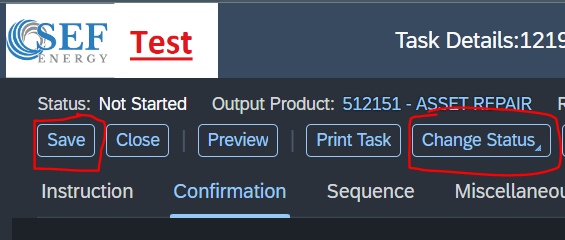
12. You will now click save and then Change Status -> Finish
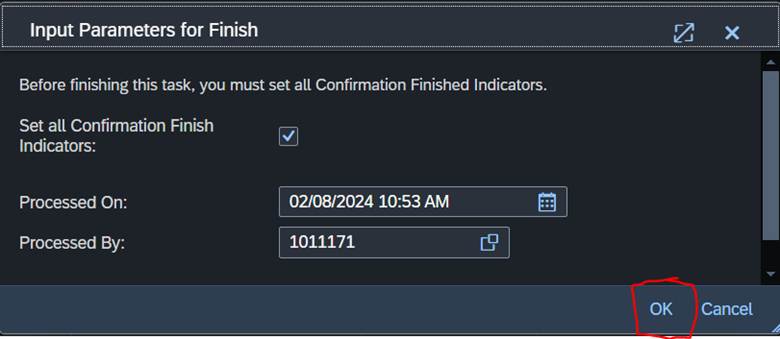
13. On the popup window click OK
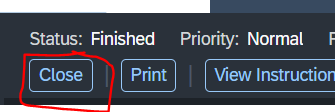
14. Now click Close
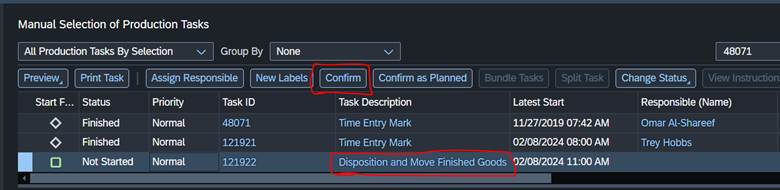
15. Now Select the on that says Disposition and Move Finished Goods and click Confirm
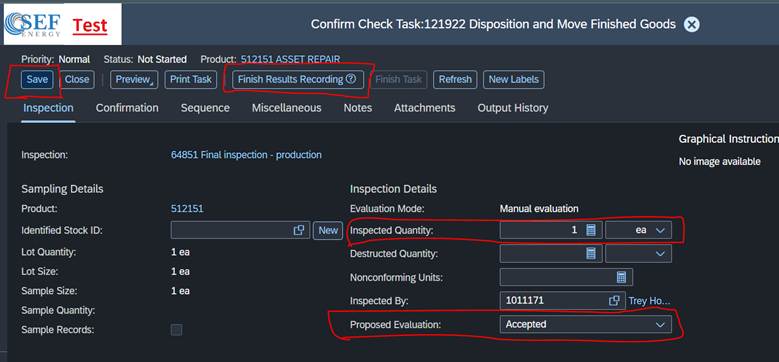
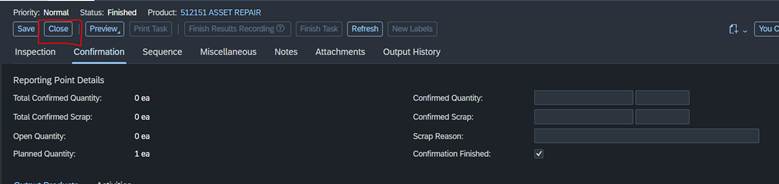
16. Now change Inspected Quantity to 1 ea and Proposed Evaluation to Accepted and then click Save and then click Finish Results Recording
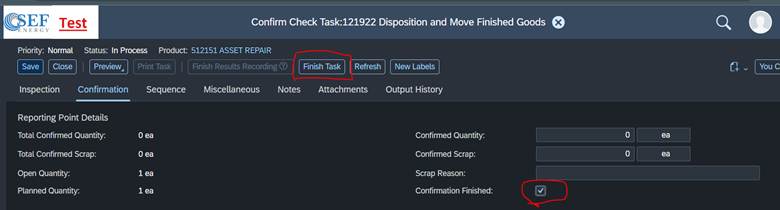
17. Then Check the Confirmation Finished check box and then click Finish Task
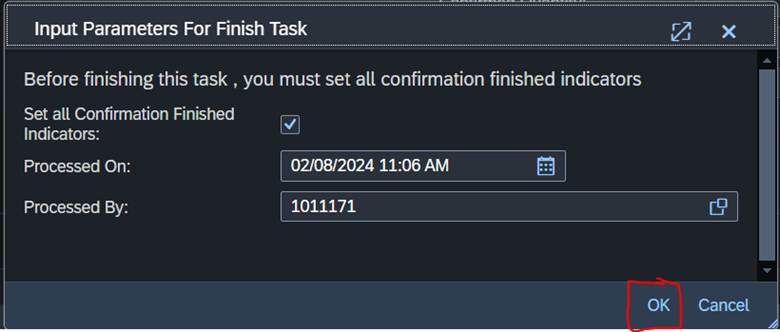
18. On the Popup window click OK
19. Then click Close
20. Then click refresh on the Task page and you will see that the Production Order is now Finished
Change Filters/Queries to see only your branches Production Orders
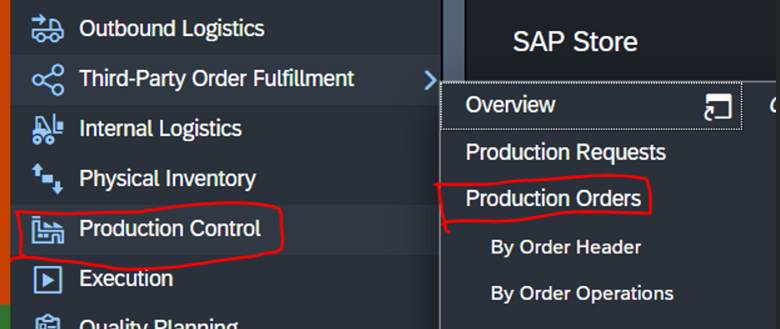
1. Go to Production Control -> Production Orders
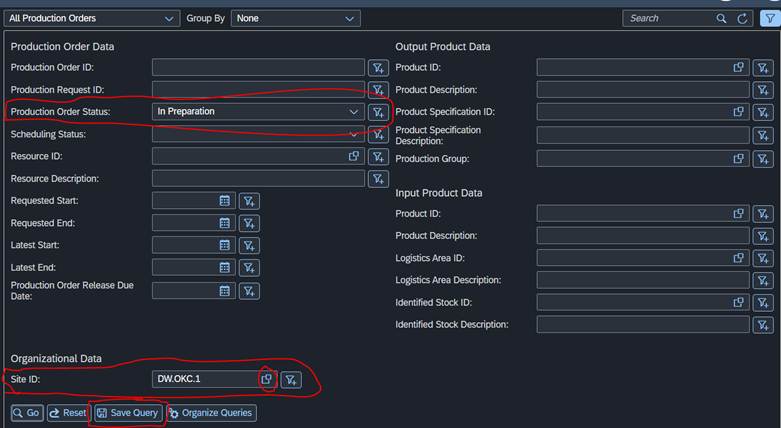
2. Changed the dropdown to All Production Orders and click the Filter button on the right side by the search bar

3. You will change the Site ID to your branch, you can either type in the code or Click the square on the right side and it will bring up the list of branches. You will also change the Production Order Status to be In Preparation. You will now click Save Query below Site ID.
4. Now you will name it what you would like EX: OKC Production Orders, leave the Execute Query on selection checked so it will enter automatically. If this is what you normally use you can go ahead and check the Use As Default Query and it will use this new Query automatically when you go to this page. Then click Ok
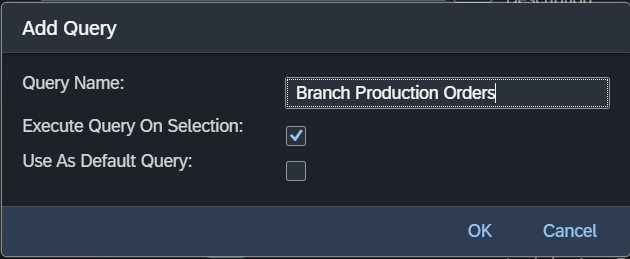
5. The new Query is now made
Was this article helpful?
That’s Great!
Thank you for your feedback
Sorry! We couldn't be helpful
Thank you for your feedback
Feedback sent
We appreciate your effort and will try to fix the article